참고 블로그는 아래와 같다.
Ubuntu 18.04 + Apache 2.4.41 수동설치하기
여기서 말하는 수동설치란? : linux 에서 소스를 컴파일하여 설치하는 것을 말한다. /usr/local 에 설치하는것이 관례이다. 소스파일은 /usr/local/src 에 보관한다. 컴파일 설정을 마친 후에는 아래 명령
salix97.tistory.com
apache설치 과정에서 찾아봐도 힘들어서 계속 시도해보다가 드디어 성공했다.
좀 다르게 하니 되어서 너무 힘들었다,,,
apache를 설치하기 위해선 apr, apr-util을 깔아야한다.
0.필수패키지 설치
>sudo su
>apt-get install gcc
>apt-get install --reinstall make
>apt-get install libexpat1-dev
>apt-get install g++
su로 바꾸고, gcc를 설치한다.
$ sudo su
> cd usr/local
> mkdir apache2.4
su로 하고, 위의 sudo su를 했다면 'sudo su'는 넘어간다.
usr/local/로 이동한다.
디렉토리를 만든다. 편한대로 이름 저장하면 된다.
1. apr, apr-util설치(경로: /usr/local/)
> wget http://mirror.navercorp.com/apache//apr/apr-1.7.0.tar.gz
> wget http://mirror.navercorp.com/apache//apr/apr-util-1.6.1.tar.gz
> tar xvfz apr-1.7.0.tar.gz
> tar xvfz apr-util-1.6.1.tar.gz
압축파일 gz를 다운받았으면 tar xvfz를 통해 압축을 푼다.
- apr 설치
> cd /usr/local/apr-1.7.0
> ./configure --prefix=/usr/local/apr
> make
> make install
--Prefix로 목적지를 정해준다.
configure을 통해 소스를 구성하고
make를 통해 소스를 컴파일하고
make install을 통해 설치파일을 설치한다.
- apr-util설치
> cd /usr/local/apr-util-1.6.1
> ./configure --with-apr=/usr/local/apr --prefix=/usr/local/apr-util
> make
> make install
apr과 관련해서 configure하고 make,make install을 진행한다.
2. pcre 설치(경로: /usr/local/)
>cd /usr/local/
>wget ftp://ftp.pcre.org/pub/pcre/pcre-8.44.tar.gz
PCRE - Perl Compatible Regular Expressions
PCRE - Perl Compatible Regular Expressions The PCRE library is a set of functions that implement regular expression pattern matching using the same syntax and semantics as Perl 5. PCRE has its own native API, as well as a set of wrapper functions that cor
pcre.org
pcre 버전을 참고하고 싶다면 여기 다운로드 부분을 참고하면 된다.
보통 8.43을 다운로드 받는데, 위의 링크에선 8.44라고 해서 8.44를 다운받아봤다.

> cd /usr/local/pcre-8.44
> ./configure --prefix=/usr/local/pcre
> make
> make install
이제 Pcre 디렉토리에 configure하고 마찬가지로 make한다.
3.apache설치(경로: /usr/local/)
내가 이 글을 쓴 이유 90%가 여기있다..
http://httpd.apache.org/download.cgi 여기에서 필요한 버전의 아파치 다운로드 받을 것이다.
>cd /usr/local
>wget https://downloads.apache.org//httpd/httpd-2.4.46.tar.gz
>tar xvfz httpd-2.4.46.tar.gz
버전은 편한대로 다운로드 받으면 된다.
난 아래 부분에서 계속 오류가 나서 해결한 걸 위주로 좀 써보고자 한다.
> cd httpd-2.4.46
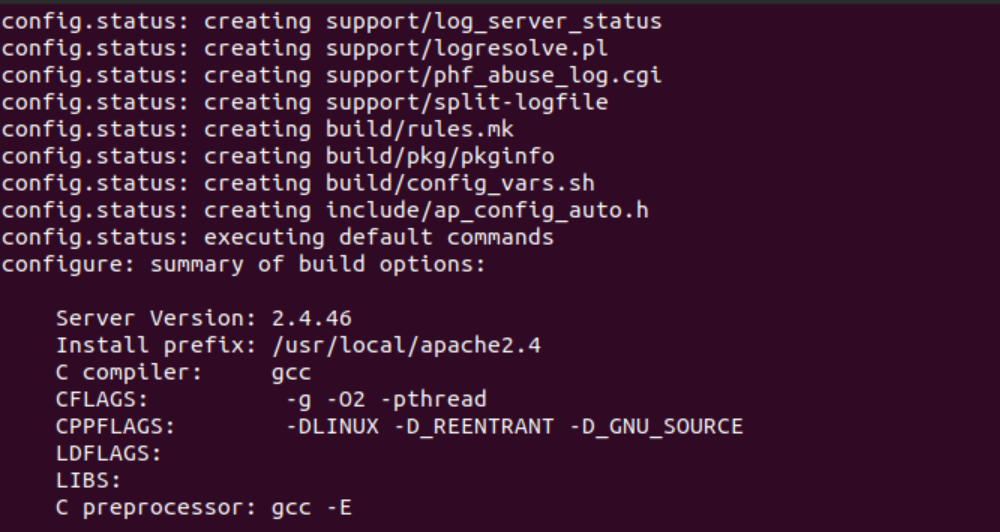
> ./configure --prefix=/usr/local/apache2.4
\--enable-module=so --enable-rewrite --enable-so
\--with-apr=/usr/local/apr/
\--with-apr-util=/usr/local/apr-util
\--with-pcre=/usr/local/pcre
\--enable-mods-shared=all
\ 다음엔 띄어쓰기가 왔던 게 일차적인 문제였던 듯 하다.
띄어쓰기를 다 지우니 인식이 잘 됐다.
'apr-util not found'문제가 계속 나온다면,
위의 과정에서 prefix 경로를 어떻게 했는지 봐서 위의 부분을 수정해야 한다.
./configure --with-apr=/usr/local/apr --prefix=/usr/local/apr-util
ex)util-1.6.1만 있다면 위에서 -with-apr-util-1.6.1로 수정하는 등등..
이것 때문에 몇시간 동안 고통받았는데 드디어 해결되니 좋다..
위에가 다 됐다면 아래 부분을 진행한다.
(경로: /usr/local/httpd-2.4.46)
> make
> make install
> sudo /usr/local/apache2.4/bin/httpd -k start
3.1 apache 실행
마찬가지로 make를 하고 서버를 동작시켜본다.

AH00558: httpd: Could not reliably determine the server's fully qualified domain name,
using 127.0.1.1. Set the 'ServerName' directive globally to suppress this message
근데 처음 시작해보는 거다보니 위와 같은 오류가 난다.
큰 문제가 아니라고는 하니, 나중에 고쳐야할 일이 있으면 아래 링크를 참고하면 될 듯한데,
아래쪽에 적어놨다
+ (선택,권장) servername설정
$ vi /usr/local/apache2.4/conf/httpd.conf

'ServerName localhost:80'를 추가해준다.
> sudo /usr/local/apache2.4/bin/httpd -k start
> ps -ef|grep httpd|grep -v grep
> sudo netstat -anp|grep httpd
> sudo curl http://127.0.0.1
-k start 는 httpd 가 죽으면 재시작한다는 의미이다. -k stop 또는 stop 은 종료이다.
ps 는 preocess status이고, ef는 모든 걸 보여주고, f는 format이다.
netstat으로는 네트워크 상태를 확인할 수 있다.(잘 안 되면 apt-get install net-tools 명령어 수행)
curl은 HTML정보를 출력해준다(apt-get install curl)
'백엔드' 카테고리의 다른 글
| [mySQL]카카오톡 DB구성 (0) | 2021.01.12 |
|---|---|
| [AWS]ec2에 nginx, mysql, php 설치 (0) | 2021.01.09 |
| [ubuntu]mysql소스설치하기/컴파일설치/수동설치 (1) | 2021.01.07 |
| [mac]virtualbox로 ubuntu 20.04설치 (0) | 2021.01.04 |
| [virtual machine]Ubuntu 붙여넣기가 안 될 때 (0) | 2020.12.31 |


